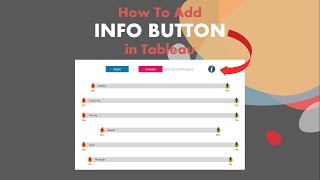
Understanding the Tableau Info Button
The Tableau Info Button is a small, interactive element that lets dashboard authors attach contextual help, definitions, or instructions directly to a visualization. When a viewer hovers over or clicks the button, a tooltip or pop‑over appears with the custom content you provide. This feature keeps dashboards clean while still offering on‑demand guidance.
Why Use an Info Button?
- Reduces clutter – eliminates the need for lengthy text boxes or separate instruction sheets.
- Improves user adoption – new users can discover meaning without leaving the view.
- Supports governance – centralizes business logic explanations, making updates easier.
Core Components
- Button shape – typically an “i” icon, but any mark can serve as the trigger.
- Action – a Tooltip action, a URL action, or a Show/Hide container action.
- Content – plain text, rich‑text (HTML), or a reference to a separate worksheet.
Two Practical Ways to Add an Info Button
Method 1 – Tooltip‑Only Approach
This method uses a hidden worksheet that contains only the help text. The tooltip of a visible mark (often a transparent shape) displays the worksheet’s content.
- Create a new worksheet named Info_Content. Add a single text mark with the desired help message. Format the text using Tableau’s rich‑text editor (bold, bullet points, links).
- On the target dashboard, drag a Shape mark (e.g., a circle) onto the view where you want the button. Set the shape to the “info” icon and make the mark transparent (opacity 0%).
- Open the Tooltip shelf for that shape. Click Insert → Sheets → Info_Content. The tooltip now shows the full help sheet when the user hovers over the icon.
- Optional: add a Hover action on the dashboard to keep the tooltip visible for a few seconds after the cursor moves away.
Method 2 – Show/Hide Container with a Dashboard Action
This technique gives a clickable button that opens a floating container, ideal for longer instructions or interactive elements.
- Build a Container (vertical or horizontal) on the dashboard. Place a worksheet, text object, or web page object inside it. Set the container’s Show/Hide property to Hidden by default.
- Add a Button object (or a shape mark) where the info button should appear. Label it “Info”

![How To Add Info Buttons To Dashboards In Tableau [2025 Guide]](https://i.ytimg.com/vi/VUyG9maz-nk/mqdefault.jpg)