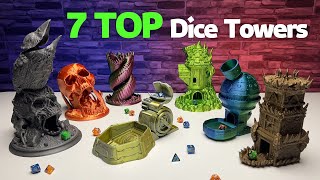
The Ultimate Guide to Printable Dice: From Digital Design to Tabletop
Whether you are a seasoned tabletop gamer or a hobbyist maker, printable dice offer an unparalleled level of customization. Moving beyond the standard plastic sets found in stores, creating your own dice allows you to tailor the aesthetics, weight, and balance to your specific gaming needs. From classic D6s to complex D20s for Dungeons & Dragons, the transition from a digital model to a physical object is an exciting journey in modern crafting.
Methods for Creating Your Own Printable Dice
Depending on your equipment and skill level, there are several ways to approach the creation of custom dice. Here are four different options for making your own custom gaming tools:
1. FDM 3D Printing (Filament)
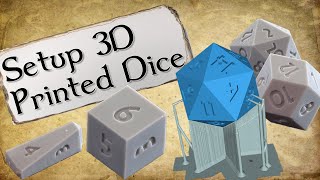
Fused Deposition Modeling (FDM) is the most accessible form of 3D printing. It is ideal for oversized dice or prototypes. However, because FDM prints in layers, achieving a perfectly smooth finish can be challenging. To improve quality, use a small nozzle size and slow down your print speed for the top layers.
2. Resin 3D Printing (SLA)
For those seeking professional-grade detail, resin printing is the gold standard. Resin allows for crisp edges and intricate engravings that filament cannot match. When selecting materials, the resin preferred for dice is typically a "tough" or "ABS-like" resin, which prevents the dice from shattering when rolled against a hard table.
3. Paper-Based Printables
The fastest and most cost-effective method is using 2D printable templates. By printing a net (a flattened 3D shape) on heavy cardstock, you can fold and glue your dice into shape. This is the easiest method for quickly customizing designs or creating themed dice for a one-time session.
4. 3D Printed Molds for Casting
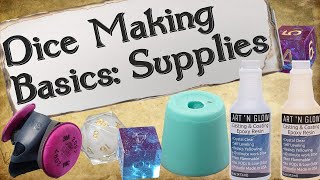
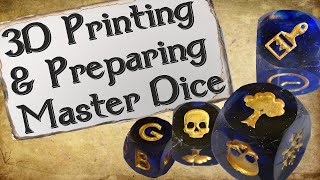
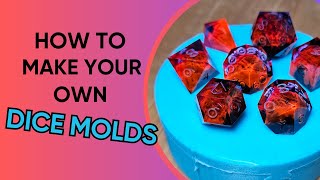
If you want the weight of traditional acrylic or epoxy dice, use your 3D printer to create a "master" die. You then cast that master in silicone to create a mold. This allows you to pour resin, add glitter, or embed small miniatures inside the dice.
Designing Your Custom Dice
Before you hit "print," you must focus on the design phase. Designing dice requires a balance between art and mathematics to ensure the dice are fair.
- Geometry: Ensure your polygons are equilateral. A D20 (icosahedron) must have perfectly identical faces to avoid "weighting" the die toward a specific number.
- Numbering: Use clear, bold fonts. In 3D modeling, it is often better to "emboss" (raise) or "engrave" (sink) the numbers into the face of the die rather than painting them on later.
- Scaling: Consider the ergonomics. A die that is too small is hard to read, while one that is too large may bounce unpredictably.
Overcoming Common Printing Challenges
Many hobbyists struggle to get quality 3D prints on their machines, particularly with spherical or multi-faceted objects like dice. Common issues include "elephant's foot" (widening of the base) or visible layer lines on the top face.
To solve these issues, consider the following tips:
- Orientation: Instead of printing a die flat on its face, try tilting it at a 45-degree angle. This distributes the layer lines and reduces the need for heavy support structures.
- Support Settings: Use "tree supports" to minimize the scarring left on the model after the supports are removed.
- Post-Processing: Sanding is essential. Start with a coarse grit and move to a fine polish to remove any 3D printing artifacts.
Final Touches and Finishing
Once your printable dice are off the build plate, the finishing process determines the final quality. For resin prints, a thorough wash in