How to Create Professional Printable Art Cards at Home
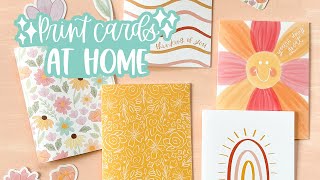
Printable art cards are a versatile medium for artists, photographers, and hobbyists. Whether you are looking to create custom trading cards, personalized greeting cards, or small-scale art prints to sell, the ability to produce high-quality cards from a home studio offers immense creative freedom and cost efficiency.
Essential Equipment for High-Quality Printing
The quality of your printable art cards depends heavily on your hardware. For those transitioning from a hobby to a business, selecting a printer that handles larger formats and high ink volumes is critical.
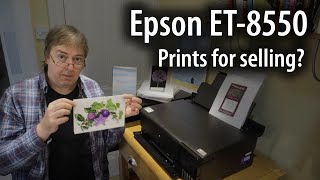
Many creators evaluate the Epson ET-8550 13"/A3+ EcoTank as a primary option for selling prints. This printer is often favored because it supports A3+ paper sizes, allowing you to print multiple cards on a single sheet, which reduces waste and increases production speed. The EcoTank system is particularly beneficial for those producing high volumes, as it significantly lowers the cost per print compared to traditional cartridges.
Choosing the Right Paper and Cardstock
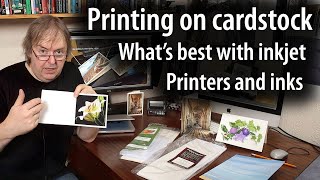
Paper selection is where many creators struggle. The "feel" of an art card is just as important as the visual quality. Depending on your art style, you should consider the following options:
- Matte Cardstock: Ideal for illustrations and greeting cards where a glare-free finish is preferred.
- Glossy or Lustre Paper: Best for photography and high-contrast digital art to make colors pop.
- Textured Fine Art Paper: Perfect for watercolor-style prints or high-end gallery cards.
Testing different papers is a continuous process. Many professionals spend years experimenting with various weights and coatings to find the perfect balance between ink absorption and surface smoothness. When selecting paper, always ensure it is compatible with your specific printer type (inkjet vs. laser) to avoid clogging or smudging.
Step-by-Step Tutorial: Making Your Own Greeting Cards
Turning a digital file into a physical art card requires a few precise steps to ensure a professional finish.
- Design Your Layout: Create your artwork in a high-resolution format (at least 300 DPI). If you are making greeting cards, remember to account for the fold line.
- Set Up Print Templates: Use a grid layout to fit as many cards as possible on one page. This maximizes your paper usage.
- Calibration: Perform a test print on plain paper to ensure colors are accurate and margins are correct.
- Printing: Load your chosen cardstock into the printer. Adjust your printer settings to "High Quality" or "Photo Paper" to ensure the ink is applied correctly.
- Cutting and Finishing: Use a paper trimmer or a craft knife and ruler for straight, clean edges. For greeting cards, use a bone folder to create a crisp, professional crease.
Packaging and Presentation
If you intend to sell your printable art cards, the packaging is an extension of your brand. Proper packaging protects the art from moisture and bending during transit.
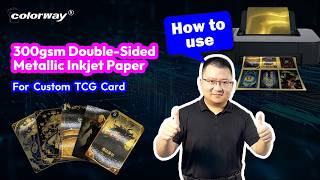
Consider using clear compostable sleeves or rigid cardstock envelopes. For custom trading cards, top-loaders or plastic sleeves are essential to maintain the value and condition of the print. Including a small branded thank-you note or a backing card can elevate the customer experience.
Tips for Selling Your Art Cards
When moving from creation to commerce, consistency is key. Ensure that your color profiles are consistent across different batches of prints. If you are selling online, provide clear photos of the cards in natural light so customers can see the true texture and color of the paper.
For a full list of supplies and detailed product recommendations, including specific paper brands and packaging options, check out the comprehensive guides available on our blog.
Final Thoughts
Creating printable art cards is a rewarding way to share your creativity. By investing in a reliable printer like the Epson EcoTank