How To Screenshot In On Windows: A Complete Guide
Capturing what’s on your screen is a daily task for many professionals, students, and gamers. Whether you need to document an error, share a design mock‑up, or save a memorable moment, Windows offers several reliable ways to take screenshots. In this step‑by‑step tutorial, learn how to take a screenshot using built‑in tools, keyboard shortcuts, and optional third‑party utilities.
Why Take Screenshots?
We could spend all day arguing the merits of a good screenshot, but the practical benefits are clear:
- Documentation: Record error messages or software behavior for support tickets.
- Communication: Share visual instructions with teammates without writing lengthy descriptions.
- Creativity: Capture inspiration from web pages, games, or design tools.
Built‑In Keyboard Shortcuts
Windows includes a handful of keyboard shortcuts that work instantly, no extra software required.
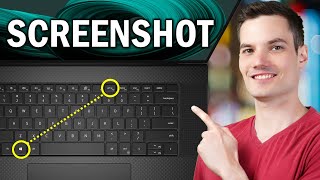
- Print Screen (PrtScn) – Press the PrtScn key to copy the entire screen to the clipboard. Open Paint or another image editor and press Ctrl + V to paste.
- Windows + Print Screen – Captures the full screen and automatically saves the image to Pictures → Screenshots as a PNG file.
- Alt + Print Screen – Copies only the active window to the clipboard, useful when you don’t want the desktop or taskbar.
- Windows + Shift + S – Opens the Snip & Sketch overlay, allowing you to select a rectangular, free‑form, window, or full‑screen snip. The capture is copied to the clipboard and appears as a notification for quick editing.
Snipping Tool & Snip & Sketch
Older versions of Windows include the classic Snipping Tool, while Windows 10 and 11 feature the more versatile Snip & Sketch. Both applications let you annotate, crop, and save screenshots directly.
- Open the tool by typing “Snipping Tool” or “Snip & Sketch” in the Start menu.
- Select the snip mode: Rectangular, Free‑form, Window, or Full‑screen.
- After capturing, use the built‑in markup tools to highlight, add text, or draw arrows.
- Save the image as PNG, JPEG, or GIF, or copy it to the clipboard for immediate pasting.