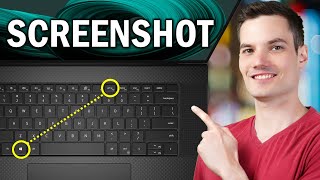
How to Screenshot on a Microsoft Desktop
Whether you’re troubleshooting a software issue, capturing a design element, or simply saving a conversation, the ability to take a screenshot on a Windows desktop is a fundamental skill. Windows offers several built‑in tools and keyboard shortcuts that make capturing images quick and easy. In this step‑by‑step guide, learn how to take screenshots using the most common methods and discover tips to get the best results.
Why Screenshots Matter on Windows
Screenshots serve many purposes: documenting bugs, sharing work samples, or keeping a visual record of a project. With a few keystrokes, you can capture exactly what’s on your screen and share it instantly. Knowing multiple ways to capture images allows you to choose the right tool for any situation.
Basic Keyboard Shortcuts
The simplest way to capture the entire screen is the Print Screen key. Here’s how to use it:
- Press PrtScn to copy the full screen to the clipboard.
- Open an image editor (e.g., Paint, Word, or PowerPoint).
- Paste the image with Ctrl + V and save it.
If you want to capture only the active window, press Alt + PrtScn. The image is again copied to the clipboard, ready for pasting.
For a quick screenshot that saves automatically to the Pictures folder, use Windows key + PrtScn. The screen will dim briefly, indicating the capture is complete.
Using the Snipping Tool
The classic Snipping Tool is still available in Windows 10 and 11. It offers a simple interface for capturing free‑form, rectangular, window, or full‑screen snips.
- Open the Start menu and type “Snipping Tool.” Click to launch.
- Select the desired snip type from the drop‑down menu.
- Drag the cursor to capture the area or click to capture a window.
- After capturing, the image opens in the Snipping Tool window, where you can annotate, save, or copy it.
Snip & Sketch – The Modern Replacement
Windows 10 introduced Snip & Sketch as a more versatile alternative. It includes a quick‑action toolbar and better editing features.
- Press Windows + Shift + S to open the snip toolbar.
- Choose a snip shape: rectangular, free‑form, window, or full‑screen.
- Once you select, the screen dims, and the chosen area is captured to the clipboard.
- A notification appears; click it to edit or save the screenshot in the Snip & Sketch app.
Snip & Sketch allows you to add arrows, text, and highlights before saving, making it ideal for tutorials or feedback.
Capturing the Entire Screen with the Game Bar
Windows 10’s Game Bar is often used for gaming, but it works well for any screen capture. Open it with Windows + G