How To Screenshot From Windows Laptop: A Complete Guide
Capturing what’s on your screen is a daily task for students, professionals, and gamers alike. Whether you need to save a receipt, share a bug report, or create a tutorial, Windows laptops offer several built‑in methods and free utilities. In this step‑by‑step tutorial, learn how to take screenshots quickly and efficiently without installing extra software.
Why Knowing Multiple Methods Matters
There are a number of ways to screenshot from a Windows laptop, and each method shines in different scenarios. Keyboard shortcuts are lightning‑fast for full‑screen grabs, while tools like Snip & Sketch let you annotate before saving. Understanding the options lets you choose the right approach for any workflow.
1. Built‑in Keyboard Shortcuts
Windows includes three primary shortcuts that work on virtually every laptop model.
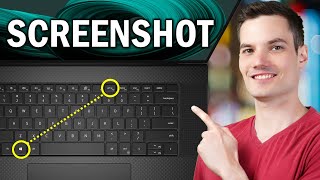
- Print Screen (PrtScn) – Pressing this key copies the entire screen to the clipboard. Open Paint or any image editor, press Ctrl + V, then save the file.
- Windows + Print Screen – This combination captures the full screen and automatically saves the image to Pictures → Screenshots. A brief dimming effect confirms the capture.
- Alt + Print Screen – Use this shortcut to capture only the active window. The screenshot is stored on the clipboard for pasting.
These shortcuts are ideal when you need a fast, no‑frills screenshot.
2. Using Snip & Sketch (Windows 10/11)
Snip & Sketch replaces the older Snipping Tool and adds annotation features.
- Press Windows + Shift + S. The screen darkens and a small toolbar appears at the top.
- Select a snip shape: Rectangular, Freeform, Window, or Full‑screen.
- Drag to capture the area you need. The image is copied to the clipboard and a notification pops up.
- Click the notification to open Snip & Sketch, where you can add arrows, text, or highlights before saving.
In this video, I’ll show you multiple ways to use Snip & Sketch, but the steps above cover the core workflow.
3. The Classic Snipping Tool (Legacy Option)
Older Windows versions still include the Snipping Tool, and it remains available in Windows 10 for compatibility.
- Open the Start menu, type “Snipping Tool,” and launch the app.
- Click