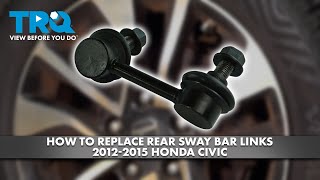
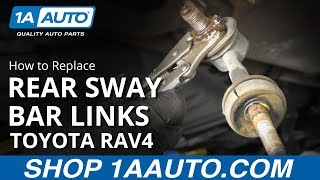
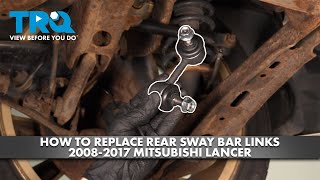
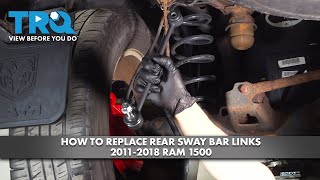
How To Replace Rear Sway Bar Links
Rear sway bar links are critical components of your vehicle's suspension system. They connect the sway bar (anti-roll bar) to the suspension control arms or struts, helping to reduce body roll during cornering. Over time, the ball joints at the ends of these links wear out, leading to clunking noises, poor handling, and instability.
Replacing these parts is a manageable task for most DIY mechanics. To ensure a professional repair, you can shop TRQ on 1AAuto.com for high-quality replacement links designed for a precise fit.
Signs Your Rear Sway Bar Links Need Replacement
Before starting the repair, it is important to confirm that the links are the source of the problem. Common symptoms include:
- Clunking or Rattling: A distinct metallic knocking sound when driving over bumps or during sharp turns.
- Increased Body Roll: The vehicle feels "looser" or leans more than usual when navigating curves.
- Visible Wear: Torn rubber boots or leaking grease around the ball joints.
- Excessive Play: When the car is lifted, the link can be moved easily by hand, indicating worn internal sockets.
Tools and Supplies Needed
Having the right tools ready will prevent frustration during the installation process. Gather the following:
- Floor jack and jack stands
- Socket set and ratchet
- Wrenches (open-end or combination)
- Penetrating oil (e.g., PB Blaster or WD-40 Specialist)
- Torque wrench
- New rear sway bar links (shop on 1AAuto.com for compatible parts)
Step-by-Step Guide to Replacing Rear Sway Bar Links
1. Preparation and Safety
Park your vehicle on a flat, level surface. Loosen the lug nuts on the rear wheels while the car is still on the ground. Lift the vehicle using a floor jack and always secure it with jack stands. Never work under a vehicle supported only by a jack.
2. Apply Penetrating Oil
Sway bar links are exposed to road salt, water, and debris, which often causes the nuts to rust. Spray the mounting nuts on both ends of the link with penetrating oil and let them soak for 10 to 15 minutes. This significantly reduces the risk of stripping the threads or snapping a bolt.
3. Remove the Old Sway Bar Link
Use a wrench or socket to loosen the nuts. If the stud inside the link spins while you are trying to turn the nut, you may need to hold the stud in place with an Allen wrench (if the stud is hollow) or a pair of locking pliers (vise-grips).
Once the nuts are removed, carefully pull the old link out of the mounting brackets. Repeat this process for the other side of the vehicle.
4. Install the New Link
Position the new link into the mounting holes. Ensure the link is oriented correctly; installing it backward can cause the link to bind or interfere with other suspension components.
Hand-tighten the nuts to ensure they are not cross-threaded. Once seated, use a wrench to tighten them firmly. For the most secure fit, use a torque wrench to tighten the nuts to the manufacturer's specific torque specifications.
5. Final Checks and Testing
Double-check that all fasteners are tight. Lower the vehicle back to the ground and tighten the lug nuts. Take the car for a short test drive at low speeds, turning both left and right to ensure the clunking noise is gone and the vehicle feels stable.
Maintenance Tips for Suspension Longevity
To extend the life of your new sway bar links and other suspension parts, consider the following:
- Regular Inspections: Check your suspension boots and joints