How To Make Font: A Comprehensive Guide for Designers
Creating a custom typeface is one of the most rewarding challenges for a graphic designer. Whether you are looking to establish a unique brand identity or want to sell your creations on a digital marketplace, understanding the technical process of font creation is essential. While it may seem daunting, there are several entry points depending on your skill level and the style of font you wish to produce.
Defining Your Typography Goals
Before opening any software, you must decide on the style of your font. Typography is a foundational pillar of design, and the process differs significantly based on the intended output. Consider these common categories:
- Serif: Classic fonts with small decorative lines at the ends of strokes.
- Sans-Serif: Modern, clean fonts without decorative lines.
- Script: Fluid, handwritten styles that often require complex "kerning" (the space between characters).
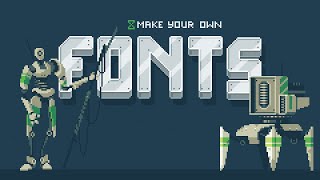
- Pixel Fonts: Blocky, grid-based fonts ideal for retro game aesthetics or low-resolution displays.
Choosing the Right Tools for Font Creation
Depending on your budget and technical expertise, there are various software options available to help you turn your drawings into a functional font file.
1. Using Professional Extensions (e.g., Fontself)
For those who are already comfortable with Adobe Illustrator or Photoshop, extensions like Fontself provide a streamlined workflow. Instead of learning a complex new interface, these tools allow you to drag and drop your vector shapes directly into a font creation panel. This is often the fastest way for graphic designers to move from a sketch to a usable .OTF or .TTF file.
2. Open Source Software (e.g., FontForge)
If you are looking for a powerful, free, and open-source option, FontForge is the industry standard. It is a comprehensive font editor that allows you to edit existing fonts or build new ones from scratch. While it has a steeper learning curve than an extension, it provides granular control over glyphs, bezier curves, and advanced typographic settings.
3. Pixel-Based Creation
Creating a pixel font requires a different approach. Instead of smooth vectors, you work on a fixed grid. Many designers use basic raster software to draw each character pixel-by-pixel before importing them into a font generator to ensure the spacing remains consistent across the alphabet.
Step-by-Step Process to Create Your Font
Regardless of the software you choose, the general workflow for font creation follows these essential steps:
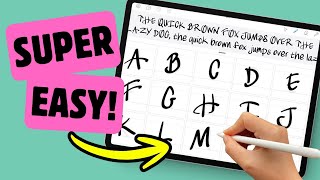
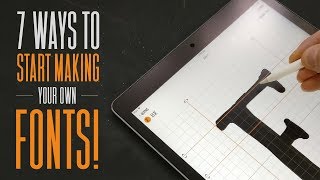
- Sketching: Start on paper or a digital tablet. Draw your "control characters" first—usually the letter 'n', 'o', 'H', and 'p'. These establish the width, height, and weight of the rest of the alphabet.
- Digitizing: Trace your sketches using vector paths. Ensure that your anchor points are clean to avoid "lumpy" edges when the font is scaled up.
- Developing the Glyph Set: Expand your control characters to complete the full alphabet (uppercase and lowercase), numbers, and essential punctuation marks.
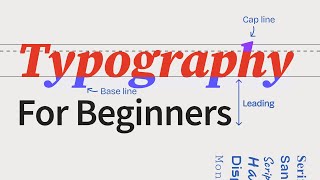
- Setting the Metrics: This is the most critical technical phase. You must define the baseline (where the letters sit), the x-height (the height of lowercase letters), and the cap height.
- Kerning and Spacing: Adjust the space between specific pairs of letters (like 'AV' or 'Wa') to ensure the text looks natural and balanced.
- Exporting: Save your work in a standard format, such as OpenType (.OTF) or TrueType (.TTF), to ensure compatibility across different operating systems.
Tips for Improving Your Typography
If you are a graphic designer looking to elevate your work, remember that consistency is key. A font feels "off" when the stroke thickness varies randomly or when the spacing is uneven. To improve





![How To Turn Your Handwriting into a Custom Font! [Easy 8 Minute Tutorial]](https://i.ytimg.com/vi/3zq_OpEwjug/mqdefault.jpg)