Mastering Scissor Skills: A Guide to Cutting Practice Sheets for Kindergarten
Developing fine motor skills is a critical milestone for early learners. Among these skills, learning how to use scissors safely and accurately is essential for artistic expression and classroom independence. Cutting practice sheets for kindergarten provide a structured way for children to move from basic snips to complex shapes, building the hand-eye coordination necessary for writing.Why Scissor Skills Matter in Early Childhood
Before a child can hold a pencil with a proper grip, they must develop the small muscles in their hands and wrists. Cutting is not just about following a line; it involves bilateral coordination, which means using both hands simultaneously to achieve a goal. While the dominant hand cuts, the non-dominant hand must rotate the paper. This process strengthens the arches of the hand and improves dexterity. When students master these movements, they often see a corresponding improvement in their ability to color within lines and form letters.Here is a Beginner's Guide for Using Cutting Practice Sheets
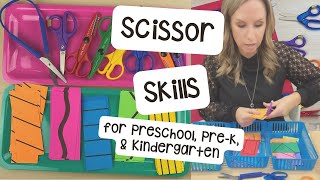
Introducing scissors to a five-year-old requires a balance of freedom and supervision. If you are introducing this tool for the first time, follow these steps to ensure a positive experience:- Choose the Right Tools: Ensure you are using blunt-tipped safety scissors. Check if the child is left-handed; using right-handed scissors with the left hand is frustrating and can lead to poor habits.
- The "Thumbs Up" Rule: I've been teaching my students this method of remembering how to hold scissors: the thumb always points toward the ceiling. This prevents the child from turning the scissors sideways.
- Start with "Snips": Begin with narrow strips of cardstock. Let the child make single cuts (snips) across the paper rather than trying to cut a long line.
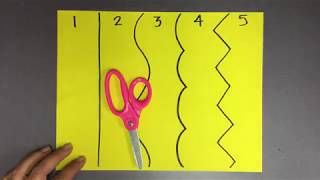
- Progressive Difficulty: Move from straight lines to zig-zags, then curves, and finally closed shapes like circles and squares.
Designing an Effective Lesson for Fine Motor Development
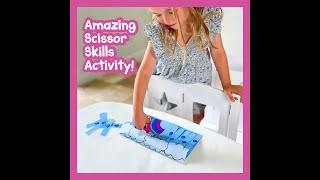
When planning a lesson for scissor skills, it is helpful to integrate them into a larger project. Rather than treating cutting as a chore, make it a creative exploration.Are you looking for fun and engaging spring activities? Try creating a "Spring Garden" project. Students can use cutting practice sheets to cut out green stems (straight lines), colorful petals (curved lines), and yellow suns (circles). By combining practice sheets with a craft, children stay motivated to improve their precision.
Types of Cutting Practice Sheets to Use
To keep students engaged, vary the types of lines and challenges they encounter. A comprehensive set of practice sheets should include:- Straight Line Paths: These are the easiest. Use dotted lines that lead a character (like a bee) to a destination (like a flower).
- Wavy and Zig-Zag Lines: These require the child to rotate the paper more frequently, challenging their bilateral coordination.
- Shape Outlines: Cutting out a square or triangle teaches the child how to navigate corners and stop the blade at a specific point.
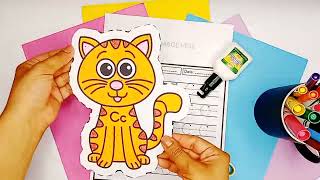
- Complex Images: Once basics are mastered, provide images of animals or stars to encourage advanced control.
Tips for Teachers and Parents
Learn all about teaching patience during this process. Some children will struggle with the physical act of opening and closing the scissors. If a student is struggling, try these modifications:Use Thicker Paper: Thin printer paper often flops over, making it hard to cut. Use cardstock or construction paper, which provides more resistance and is easier for small hands to manipulate.
Visual Cues: Use a highlighter to make the cutting line thicker. This gives the child a wider "target" to hit, reducing frustration during the initial learning phase.